
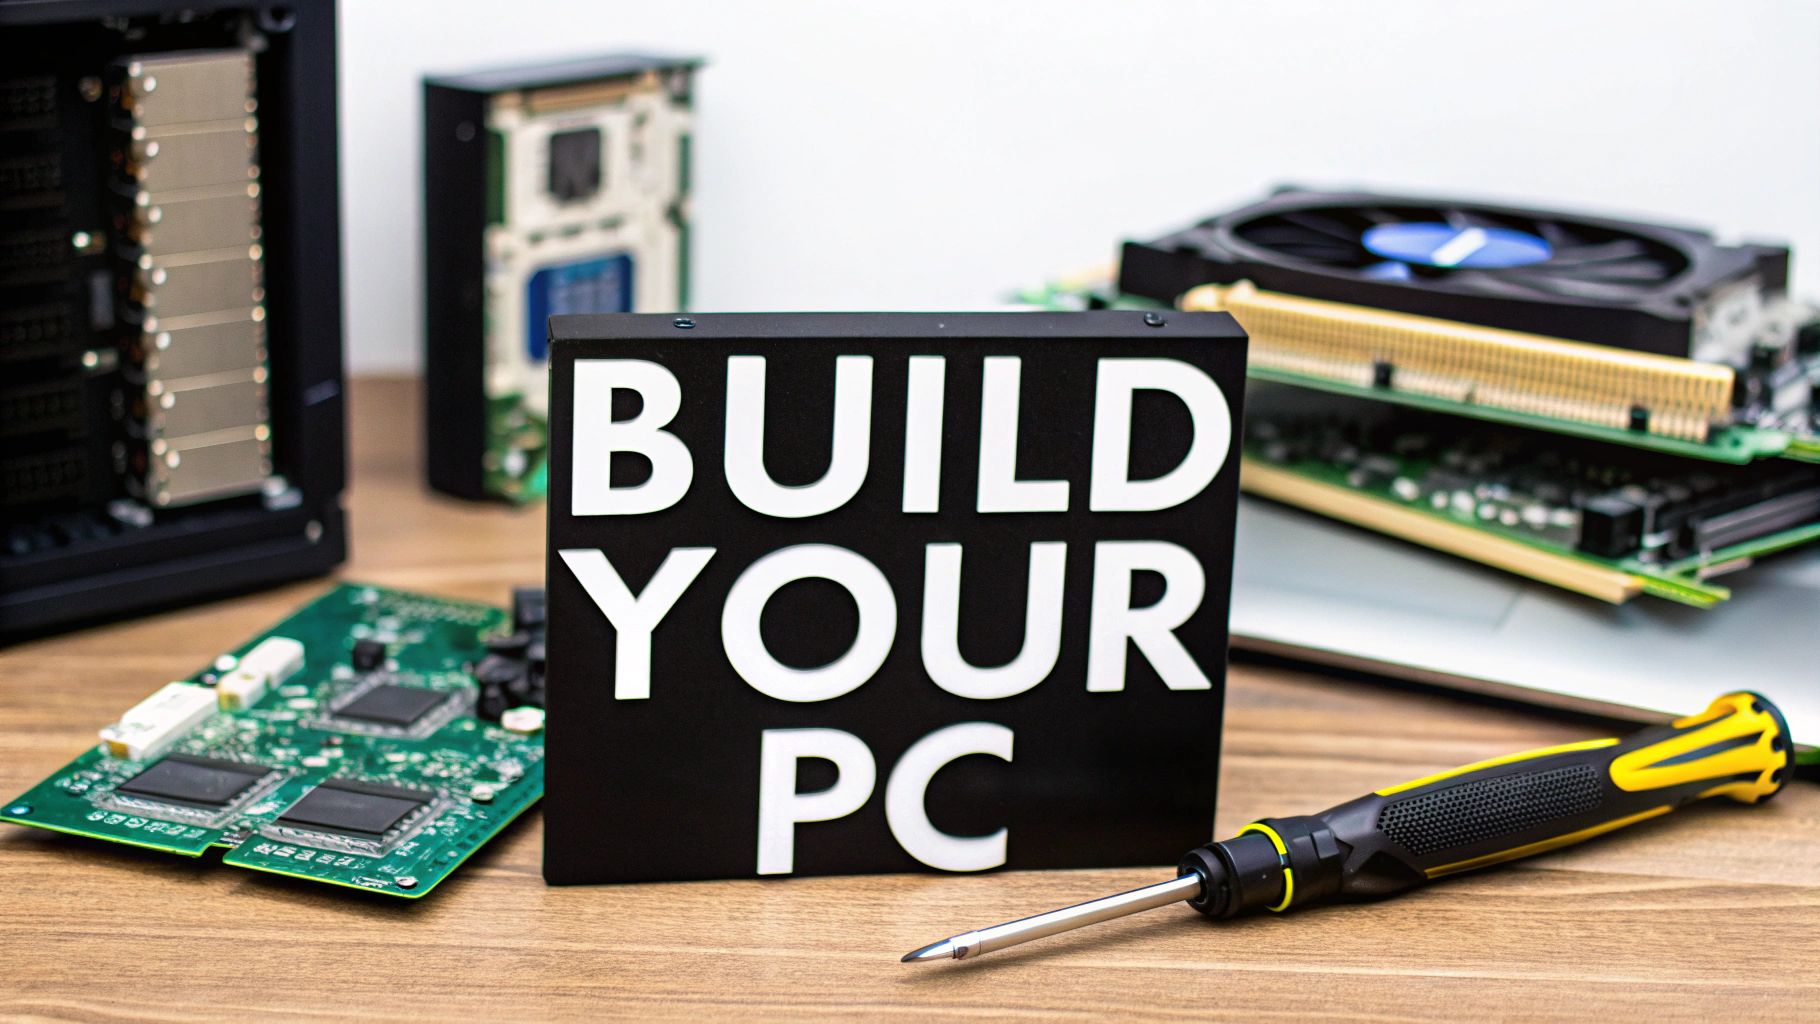
The Building Blocks: Essential Components Explained
Building a PC can feel daunting, but understanding the core components simplifies the process. This section breaks down the essential building blocks of your future machine, explaining their functions and how they interact.
The Core Four: CPU, Motherboard, RAM, and Storage
These four components form the foundation of any PC build. The Central Processing Unit (CPU), much like the conductor of an orchestra, executes instructions and performs calculations, directing all other components. The motherboard acts as the stage where all the components connect – the CPU, RAM, storage, and peripherals. Random Access Memory (RAM) is your computer's short-term memory, holding data the CPU needs readily available, similar to sheet music for the orchestra. Finally, storage, whether a Solid State Drive (SSD) or Hard Disk Drive (HDD), is the long-term memory storing your operating system, applications, and files—like the orchestra's music library.
You might be interested in: How to master…
Compatibility: Avoiding Costly Mistakes
Building a PC isn't simply about choosing powerful components; it’s about ensuring they work together harmoniously. Motherboards have specific sockets for certain CPUs. RAM must be compatible with the motherboard’s speed and capacity. Your storage devices need to fit the motherboard's available slots, such as M.2 or SATA. Helpful resources like Docuwriter.ai offer guidance for beginners. Overlooking compatibility can lead to costly mistakes, even for experienced builders.
Selecting Components for Your Needs
Understanding your usage scenario is critical for component selection. Are you building a PC for gaming, content creation, or everyday productivity? A gaming PC requires a powerful GPU, while content creation benefits from a high-core-count CPU and ample RAM. A productivity-focused build might prioritize a fast SSD for quicker boot times and application loading.
The following data chart visualizes the average cost and performance impact of different components across various build types.
This bar chart reveals that the GPU offers the most significant performance boost for gaming, while the CPU is more critical for content creation. An SSD consistently improves performance across all build types. Balancing your budget based on your needs is essential for a successful PC build.
To help you choose the right components, here's a comparison table:
Essential PC Components Comparison: A comparison of critical PC components with their functions and selection considerations
| Component | Function | Selection Considerations | Estimated Price Range |
|---|---|---|---|
| CPU | Executes instructions and performs calculations | Core count, clock speed, cache size, compatibility with motherboard | $100 – $1000+ |
| Motherboard | Connects all components | Chipset, form factor, compatibility with CPU and RAM | $50 – $500+ |
| RAM | Short-term memory | Speed, capacity, compatibility with motherboard | $30 – $500+ |
| Storage (SSD/HDD) | Long-term memory | Capacity, read/write speeds, interface (M.2, SATA) | $20 – $1000+ |
| GPU | Processes graphics | Memory, clock speed, CUDA cores | $100 – $2000+ |
This table summarizes key component functions and selection factors, including compatibility and price ranges, to aid in informed decision-making during your PC build.
The global PC market experienced a resurgence in 2025. First-quarter shipments rose between 4.9% and 9% year-over-year, according to firms like IDC. Component availability and tariff anticipation now influence build-your-own PC decisions. This increased demand highlights the importance of understanding these essential building blocks.
Blueprinting Your Build: Balancing Budget and Performance
Building a PC is like constructing a house: a solid blueprint is essential. This means balancing your desired performance with a realistic budget, and avoiding overspending on components that won't significantly improve your user experience. Careful planning is the key to a successful and satisfying build.
Defining Your Needs and Setting a Budget
First, clearly define what you'll use your PC for. Gaming, content creation, and general productivity all have different hardware requirements. A gaming PC, for example, demands a powerful Graphics Processing Unit (GPU), while content creation benefits from a high core count CPU and plenty of RAM. Once you understand how you'll use your new PC, setting a realistic budget becomes much easier.
Prioritizing Components: Where Your Money Matters
Not all components are created equal. For gamers, the GPU often takes priority and deserves a larger portion of the budget. This is because the GPU directly affects frame rates and visual fidelity. Content creators, however, should prioritize a powerful CPU for rendering and encoding tasks. A fast SSD benefits almost everyone, drastically improving boot times and application loading speeds.
To help you visualize how to prioritize your spending, let's look at typical PC build tiers and their budget allocations. The table below provides a general framework.
PC Build Tiers and Budget Allocation: A breakdown of different PC build categories with recommended budget allocations
| Build Tier | Total Budget Range | CPU Budget % | GPU Budget % | Other Components % | Ideal Use Cases |
|---|---|---|---|---|---|
| Entry-Level | $500 – $800 | 25% | 30% | 45% | Casual gaming, everyday productivity |
| Mid-Range | $800 – $1500 | 20% | 40% | 40% | High-refresh-rate gaming, streaming, content creation |
| Enthusiast | $1500+ | 15% | 50% | 35% | 4K gaming, professional content creation, heavy multitasking |
As you can see, budget allocation changes depending on the performance level. For example, an enthusiast gaming build might allocate 50% of its budget to the GPU, while an entry-level build allocates less.
Future-Proofing Without Overspending
Smart builders plan for the future. This means choosing components that can handle upcoming software and games, but avoiding cutting-edge technology that quickly becomes outdated. For example, a motherboard with multiple expansion slots allows for future upgrades without replacing the whole system.
Market trends also influence pricing. The top five PC vendors controlled about 76% of global shipments in Q1 2025. This market share creates pricing challenges for DIY builders. Find more statistics here.

By balancing your budget and performance goals, and by making informed component choices, you build a solid foundation for a PC that meets your needs today and tomorrow.
Hands-On Assembly: Building Your PC Step-by-Step
Now that you've chosen your components and finalized your budget, the exciting part begins: assembling your PC. This process, which might seem daunting, is actually a manageable step-by-step journey. Think of it as building with high-tech LEGOs—each piece has its designated spot, and with careful attention, you'll create something impressive.
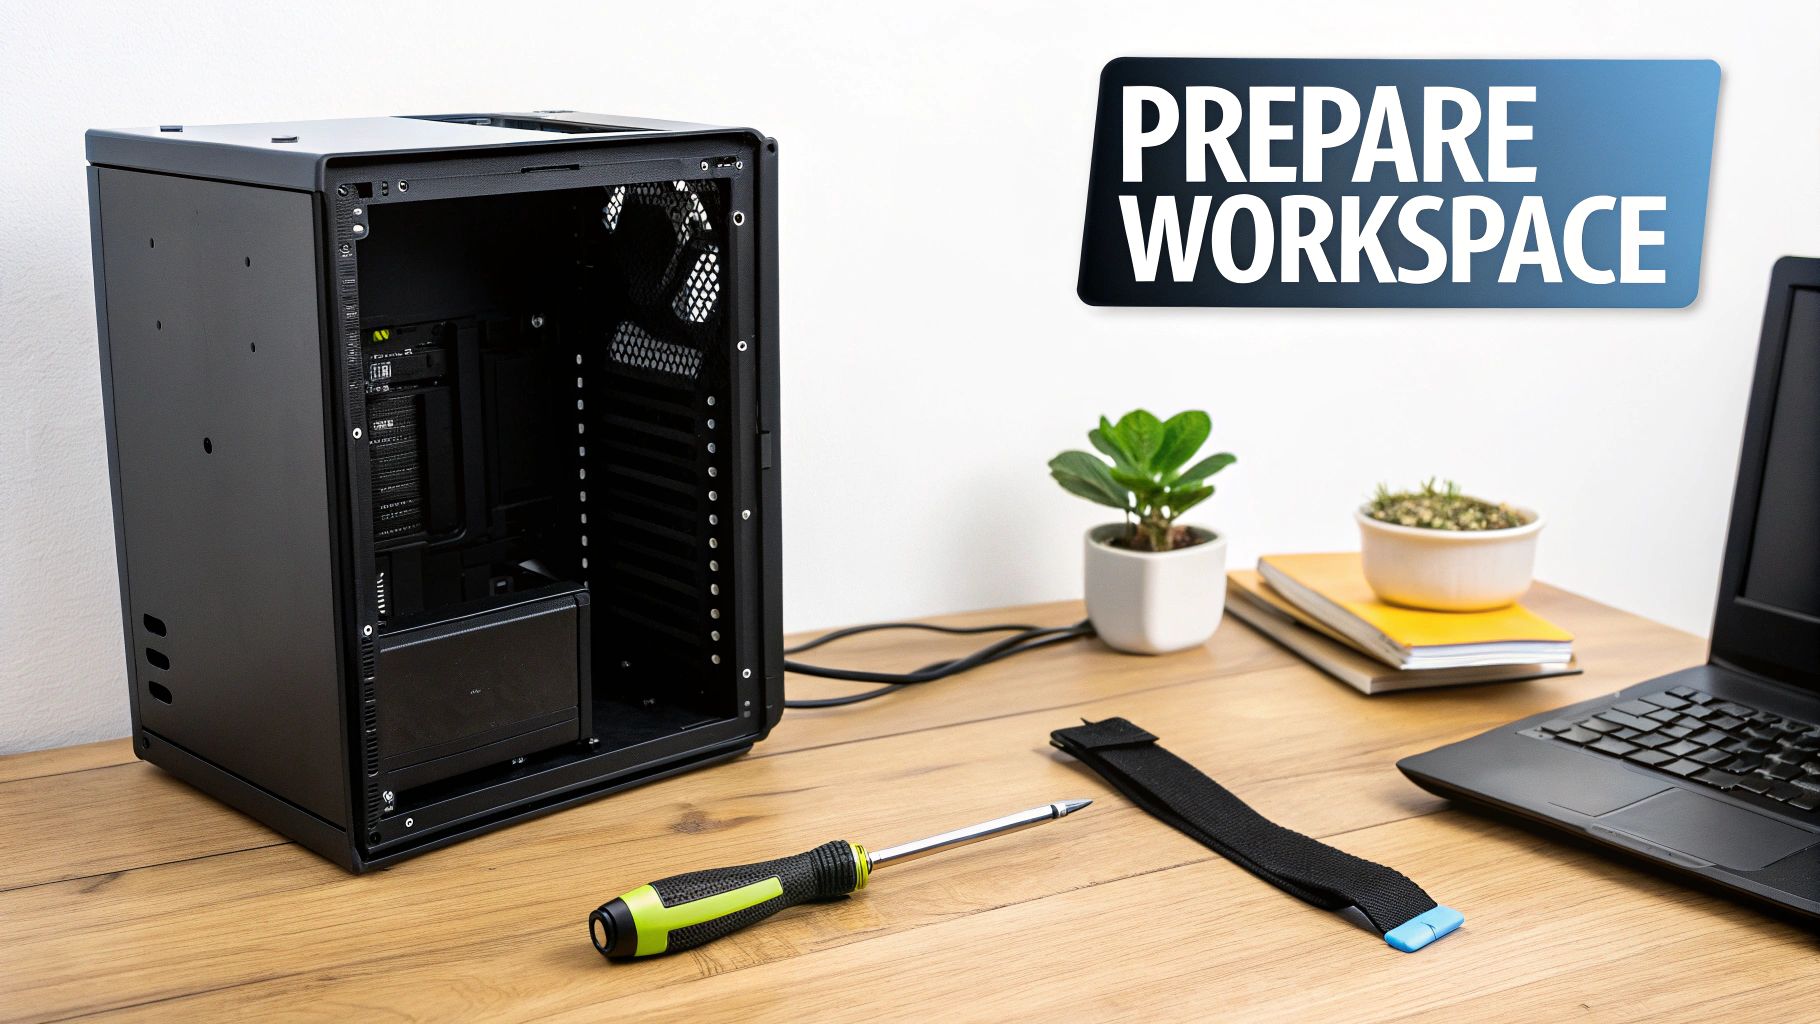
Preparing Your Workspace: Preventing Static Discharge
Before handling any components, setting up a proper workspace is vital. Static electricity can damage PC components, causing immediate or delayed failure. Therefore, a static-free environment is essential. An anti-static wrist strap connected to a grounded metal surface, such as your PC case, is a simple yet crucial tool. Working on a non-carpeted surface is also recommended.
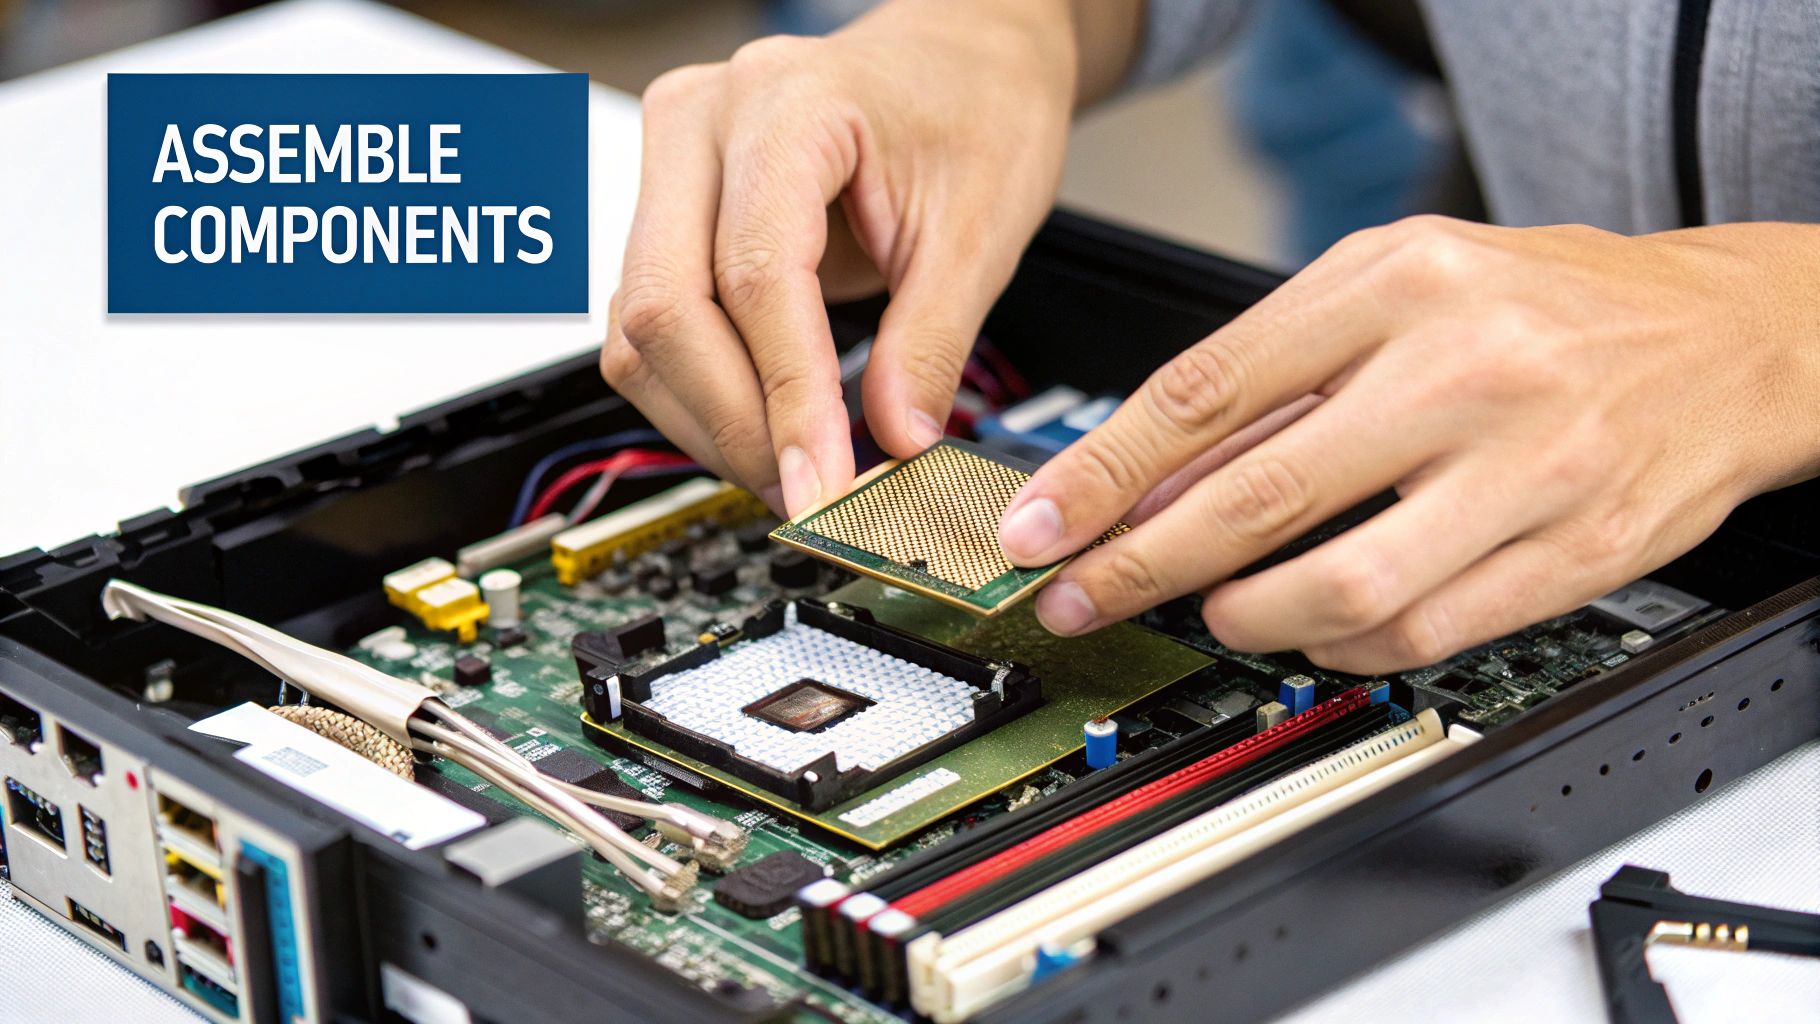
Installing the CPU: The Heart of Your Machine
The CPU, or central processing unit, is the core of your computer. Installing it requires careful precision. Begin by opening the CPU socket lever on your motherboard. Align the gold triangle on the CPU with the corresponding marker on the socket. Gently place the CPU into the socket—it should fit snugly without any force. Close the lever to secure it in place.
Applying Thermal Paste: Keeping Things Cool
After seating the CPU, apply a pea-sized amount of thermal paste to the center of the CPU's heat spreader. This paste fills microscopic gaps between the CPU and the heatsink, ensuring optimal heat transfer and preventing overheating. Too much or too little paste can affect cooling performance. Carefully install the heatsink, making sure it sits flush against the CPU.
Component Installation and Cable Management
With the CPU cooled, install the RAM modules into their slots on the motherboard, pressing down firmly until they click. Mount the motherboard into the PC case. Next, install your storage devices (like SSDs or HDDs), followed by the GPU into its PCIe slot. Read also: How to master…
Proper cable management is essential. Neatly routed cables not only give your build a professional appearance but also improve airflow within the case, keeping components cool. Use cable ties or velcro straps to organize the cables.
Troubleshooting: When Things Don't Go as Planned
Sometimes, despite careful planning, issues arise. Don't worry! Troubleshooting is a normal part of the process. A component might not be seated correctly, or a cable could be loose. Double-check all connections and component placements. Online forums and videos can be valuable resources for specific problems. Many experienced builders share their troubleshooting advice online. Building a PC is a hands-on experience that develops valuable technical skills.
Breathing Life Into Hardware: OS Installation and Setup
With your components assembled, it’s time for the crucial step of installing the operating system (OS) and configuring your new PC. This process transforms a collection of hardware into a functional system. We'll guide you through creating bootable installation media and navigating BIOS/UEFI settings, which can sometimes seem daunting for first-time builders.
Creating Bootable Installation Media
Begin by downloading the OS installation files. For Windows, you can create a bootable USB drive using the Windows Media Creation Tool. Other operating systems, such as various Linux distributions, offer similar tools. Ensure your USB drive has sufficient storage, typically 8GB or more, to accommodate the installation files.
Navigating BIOS/UEFI Settings
Next, access your computer's BIOS/UEFI settings. This usually involves pressing a key (such as Delete, F2, or F12) during the initial startup sequence. The specific key depends on your motherboard manufacturer. Once inside the BIOS/UEFI, locate the boot order settings and select your USB drive as the primary boot device. This instructs the computer to boot from the installation media. For additional guidance on operating system selection, you might find this resource helpful: How to master operating system selection
Installing the Operating System
After booting from the installation media, simply follow the on-screen prompts to install your selected OS. This process typically involves selecting your preferred language, partitioning your storage drive, and entering a product key (if required).
Partitioning for Performance and Security
Many experienced builders recommend creating separate partitions for the OS and data files. This practice can significantly improve performance and enhance data security. Think of organizing a library: books are arranged by genre for easy access, not piled haphazardly. Similarly, separating your OS from your data leads to a more efficient and secure system.
Optimizing BIOS Settings
Once the OS installation is complete, revisit the BIOS/UEFI settings. You can enable XMP (Extreme Memory Profile) here to optimize your RAM's performance. This unlocks the full potential of your memory modules, ensuring they operate at their rated speeds. It’s analogous to switching your car from eco mode to sport mode for enhanced responsiveness.
Interestingly, the increasing prevalence of AI-enabled PCs has influenced 2025 system builds, with vendors offering more NPU-equipped systems in anticipation of Windows 11 AI features. However, recent tariff policies have also added complexity to builders' component choices. Explore this topic further.
Installing Drivers for Stability
Finally, install the necessary drivers for your motherboard, GPU, and other peripherals. Drivers are essential software components that facilitate proper communication between your hardware and the OS. They act like translators, ensuring smooth and efficient interaction. Installing the correct drivers is crucial for system stability and optimal performance. Manufacturer websites are usually the best source for the most up-to-date drivers.
By following these steps, you can successfully install your operating system, configure your new PC, and establish a solid foundation for a high-performing system tailored to your specific needs.
Unleashing Your PC's Potential: Tuning for Performance
After building your PC and installing your operating system, you can optimize its performance even further. This section covers methods for boosting your system's capabilities, from simple tweaks to more advanced techniques. Whether you're a beginner or a seasoned PC builder, there are ways to maximize your components' potential.
Simple Optimizations: Quick Wins for Any Builder
Several simple optimizations can yield noticeable performance improvements without requiring complex procedures. For example, activating your XMP (Extreme Memory Profile) in the BIOS ensures your RAM operates at its advertised speed. This can significantly enhance system responsiveness. It's like switching your car from eco mode to sport mode–you're unleashing the pre-configured performance capabilities.
Manufacturer-provided optimization tools can also simplify the tuning process. Many motherboard manufacturers offer software that automatically adjusts system settings for optimal performance. These tools provide a straightforward entry point for newcomers to PC building, offering substantial gains without manual configuration.
Advanced Tuning: Overclocking for Enthusiasts
Overclocking offers an exciting avenue for those seeking more substantial performance gains. Overclocking involves increasing the operating frequency of your CPU and GPU beyond their factory settings. However, this requires careful consideration and monitoring. Like pushing an athlete beyond their usual limits, overclocking can yield impressive results but needs careful management to avoid instability.
-
Voltage Management: Increasing voltage can facilitate higher clock speeds. However, excessive voltage increases can damage hardware. It’s a delicate balancing act requiring incremental adjustments and stability testing.
-
Thermal Considerations: Higher clock speeds generate more heat. This requires robust cooling solutions, such as high-performance CPU coolers and sufficient case airflow. Adequate cooling prevents overheating and maintains system stability.
-
Stability Testing: Thorough stability testing is crucial after any overclocking adjustments. Tools like Prime95 and FurMark push components to their limits, identifying any instability.
Benchmarking: Measuring Performance Gains
Benchmarking software provides objective performance measurements to quantify the impact of your tuning efforts. Programs like 3DMark (for graphics) and Cinebench (for CPU) offer standardized tests, allowing you to compare performance before and after tuning. These measurements help you understand the real-world benefits of your optimizations.
The rise of AI-enabled PCs is a recent development in the PC landscape. These machines feature dedicated NPUs (Neural Processing Units) that accelerate AI workloads. These advancements are changing how we interact with our PCs. They enable new features like Recall and Click to Do, seen on newer Copilot+ PCs. These features demonstrate the increasing integration of AI into the PC building world, offering exciting possibilities for future optimization and personalization.
When Things Go Wrong: Troubleshooting Like a Pro
Building a PC can be incredibly satisfying, but problems can arise even for experienced builders. What distinguishes the pros is their systematic approach to troubleshooting. This section will provide you with the skills to diagnose and fix common PC building issues, turning frustration into a learning experience.
Decoding the Language of Your PC: Beep Codes and LEDs
Your PC often communicates problems through beep codes and LED indicators. These signals might appear confusing, but they offer important clues. Beep codes, emitted by the motherboard’s speaker, signal specific hardware failures. For instance, one long beep followed by two short beeps could indicate a memory problem. Check your motherboard manual for beep code definitions. LEDs on the motherboard can also signal issues. A solid red LED near the CPU could point to a power supply problem.
Isolating the Problem: A Systematic Approach
Component isolation is essential for finding faulty hardware. This involves systematically disconnecting and reconnecting components to pinpoint the source of the issue. Begin by disconnecting non-essential peripherals like the mouse and keyboard. If the problem continues, try booting with only the CPU, RAM, and GPU connected. If the system boots, gradually add other components back until you identify the culprit. This helps determine if the problem is a specific component or a connection issue.
Taming Driver Conflicts: A Step-by-Step Guide
Driver conflicts are another common source of trouble. Drivers are software components that tell your hardware how to interact with the operating system. Outdated, corrupt, or conflicting drivers can cause instability and performance problems. A structured approach to driver updates can resolve many of these issues. Begin by updating the chipset drivers for your motherboard. Then, update drivers for the GPU, network adapter, and other key components. Manufacturers' websites are generally the best source for the latest drivers. After setting up your PC, optimizing it for various tasks often involves file compression. For a professional guide, see tips on reducing file sizes without sacrificing quality.
Common Post-Build Challenges and Solutions
Here are some of the most frequent post-build issues:
-
No POST: This occurs when the system doesn't power on or display anything on the monitor. Check all power connections, reseat the RAM and GPU, and make sure the monitor is connected to the correct port (GPU, not motherboard).
-
Performance Throttling: If your PC is running slower than expected, check for overheating. Monitor CPU and GPU temperatures using software like HWMonitor or MSI Afterburner. Clean any dust buildup on heatsinks and fans.
-
Blue Screen of Death (BSOD): These error screens often show cryptic codes. Search online for the specific error code to pinpoint the cause. This could be a driver conflict, hardware failure, or software issue.
Windows continually evolves to enhance user experiences. Features like Recall, enabling users to retrace steps on their PC, and Click to Do, offering AI-powered actions within snapshots, showcase innovation. These features are currently available for preview on Copilot+ PCs, demonstrating Windows' commitment to AI integration. This emphasizes the importance of troubleshooting and maintaining your PC to take advantage of these capabilities.
By understanding these troubleshooting methods and solutions, you will gain the confidence to handle problems efficiently. Building a PC is not just about assembling parts; it's about mastering problem-solving to ensure your system runs smoothly for years to come. Ready to discover trending products? Explore FindTopTrends for a wide selection of high-quality items.


